


Goodbye, Grease! Simple Steps for a Shiny and Sanitized Oven
Posted on 23/05/2024
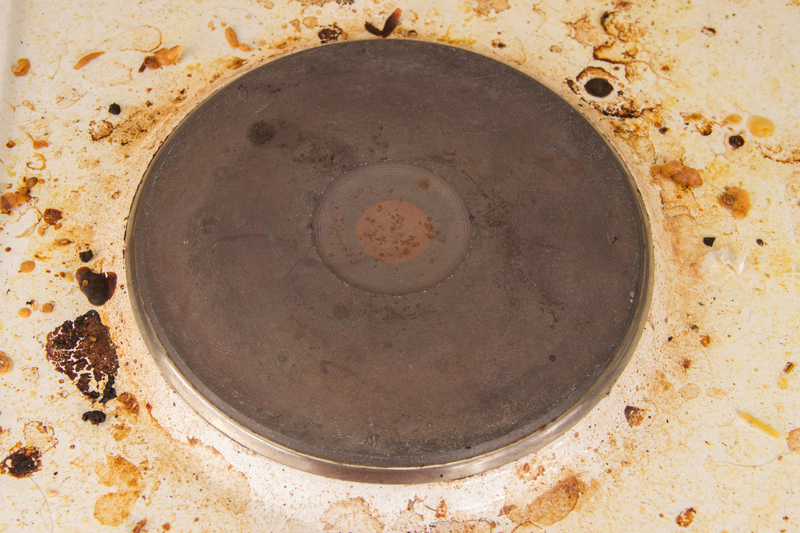
Are you tired of facing the daunting task of cleaning your oven? Does the thought of removing stubborn grease and grime seem like an endless battle? Well, you're not alone. Oven cleaning is often considered as one of the most dreaded household chores. However, with the right techniques and tools, you can transform this tedious task into a quick and easy experience. Say goodbye to grease and hello to a shiny, sanitized oven by following these simple steps.
Step 1: Gather Your Supplies
Before you start cleaning, make sure you have all the necessary supplies on hand. This will save you time and frustration, allowing for a smooth cleaning process. Here's a list of items that you'll need:
- Oven cleaner (either store-bought or homemade)
- Baking soda
- Vinegar
- Rubber gloves
- Scrub brush or sponge
- Old toothbrush
- Microfiber cloth or paper towels
- Bucket or large bowl for mixing
- Plastic spatula (optional)
Step 2: Prepare Your Oven
The first step in cleaning your oven is to prepare it for the task ahead. Start by taking out any loose food debris or racks from inside the oven. Place them in a sink filled with hot soapy water to soak while you clean the inside of the oven.
Next, cover the floor underneath and around your oven with old towels or newspaper to protect it from any drips or spills. This will make cleanup easier afterward.
Step 3: Apply Your Chosen Cleaner
Now it's time to apply your chosen cleaner to the inside of your oven. If using a store-bought cleaner, follow the instructions on the label carefully. For those looking for a more natural alternative, create a paste using baking soda and water or mix equal parts vinegar and water in a spray bottle.
Using rubber gloves, apply the cleaner to the inside of your oven, focusing on areas with heavy grease buildup. Be sure to avoid getting the cleaner on the heating elements and door gasket, as these can be damaged by harsh chemicals.
Step 4: Let It Sit
After applying the cleaner, allow it to sit for at least 15-20 minutes. This will give it enough time to break down the grease and grime, making it easier to remove.
Step 5: Scrub Away
Using a scrub brush or sponge, start scrubbing the inside of your oven in circular motions. Pay extra attention to stubborn stains and buildup. For hard-to-reach areas, use an old toothbrush to get into tight crevices.
If using a paste or spray, you may need to reapply and let it sit for some more time if the stains are particularly tough.
Step 6: Wipe Clean
Once you've scrubbed all the surfaces of your oven, it's time to wipe away all the dirt and grime. Use a microfiber cloth or paper towels dipped in warm water to clean off all traces of the cleaner. For tougher stains, use a plastic spatula to gently scrape them off.
Once everything looks clean and shiny, dry off any remaining moisture with a clean towel.
The Pros and Cons of Cleaning Your Oven
While cleaning your oven is crucial for maintaining its functionality and prolonging its lifespan, there are also some pros and cons to consider.
Pros:
- A clean oven ensures proper airflow and heating, resulting in more even cooking.
- Regular cleaning prevents buildup from affecting food taste and quality.
- A sanitized oven reduces the risk of bacteria growth and food contamination.
- Cleaning your oven can improve energy efficiency, reducing your utility bills.
Cons:
- The cleaning process can be time-consuming and requires some effort.
- Harsh chemicals in store-bought cleaners can cause irritations and harm the environment.
- Neglecting to clean your oven regularly can result in tougher stains that are harder to remove.

Tips and Takeaways
Here are some additional tips to make your oven cleaning experience even more effective:
- Use an oven liner or baking mat to catch spills and prevent them from hardening onto your oven surface.
- Regularly wipe down your oven after use, especially for messy dishes.
- For tougher stains, try using a mixture of lemon juice and baking soda. The acid in the lemon juice helps break down grease and grime.
- If you have a self-cleaning oven, make sure to follow the manufacturer's instructions carefully to avoid any damage.
In Conclusion
A clean and sanitized oven not only looks better but also ensures the safety and quality of your food. While it may seem like a daunting task, following these simple steps will help you achieve a shiny and grease-free oven in no time. With proper maintenance and regular cleanings, you can say goodbye to grease build-up and hello to a healthier cooking environment. So go ahead, tackle that oven and enjoy the satisfaction of a job well done!
Latest Posts
Keep Your Home Dust Mite-Free: A Short Guide